
Flash:
The Basics
Small portable flash units have revolutionized 35mm SLR photography, freeing us from the limitations of natural light. Millions of amateurs own cameras with built in flash, yet flash is one of the least understood tools of photography. Understanding just the basics of how flash works, will let you do some pretty amazing things with flash.
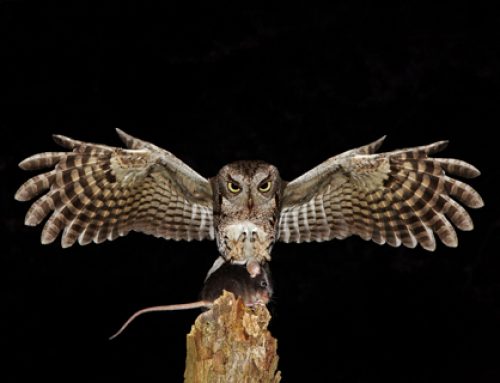
 Flash photography requires that you learn and work within the quirky characteristics of flash illumination. Light from any single camera mounted flash has two inescapable characteristics. First, light from a small light source is very harsh for portraits. Flattering portraits are usually made with a much larger light source, so don’t expect a small flash to bath your subjects in flattering light. Basic Theory: From ten feet away a single flash unit is a tiny light source when the subject is as large as a person. The same flash unit ten inches from a small insect is a much larger light source. A flash mounted in the camera hot shoe compounds the harshness of a small light source. All built in flashes and even accessory flashes mounted in the camera hot shoe, are too close to the axis of the lens. The lighting is unflattering, often producing red eye where the subjects eyes glow like some alien life form. Moving the flash off camera a few inches can make a noticeable improvement in lighting quality. When using only one flash, I prefer to have it right above the lens, but elevated a few extra inches.
 To improve the quality of your indoor flash pictures, try bouncing light off a large white surface. Walls and ceilings work fine as long as they are white. Flash picks up a colorcast when bounced off colored walls and ceilings. Bounced flash is less harsh because the light expands tremendously before reaching the ceiling where the large illuminated area is then reflected downward on the subject, creating an effect similar to that of a much larger light source. Keep in mind that a lot of flash power or distance is lost when light is bounced. Use a wide aperture and stay reasonably close to your subject. TTL flash metering compensates as long as you don’t exceed the flash maximum distance range. Bounce lighting means the light must travel further to reach the subject and power is lost due to light scattering. If your flash is not powerful enough, kick up the cameras ISO a few stops and in effect you have a much more powerful flash.
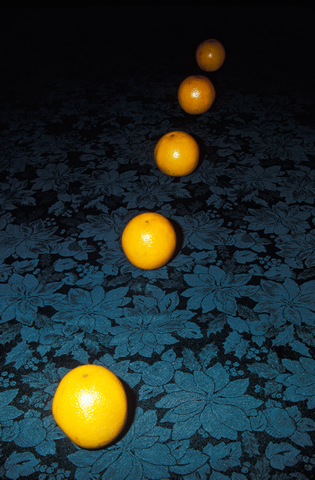
 The second characteristic of all light sources is governed by the laws of physics and is referred to referred to as the Inverse Square Law. This law states that light from any single point light source diminishes according to the square of distance it travels. In simple terms, this means the power of your flash diminishes very quickly with distance. Logically you would think that doubling the distance to your subject would reduce the light reaching that subject by one half. It’s much worse; light reaching the subject is reduced to only one forth. In terms of camera adjustments, you’re loosing 2 F-stops of light when you double the distance. The good news is that your TTL (Through-the-Lens) flash automatically compensates for variations in distance within limits of the flash range. However, no TTL system can correct for light falloff when trying to illuminate subjects near and far in the same shot. In practical terms this means that elements a few feet in front of a correctly exposed subject will be overexposed, and elements a few feet behind will be underexposed. Work around this limitation by keeping subjects at roughly the same distance from the flash. Moving closer to a subject exaggerates light falloff. The best tactic for illuminating subjects at varying distances is to back up. In other words, moving the flash further from the subject reduces the difference in illumination between near and far subjects. With this basic theory, lets move on to full flash and fill flash.