Flash Techniques:
Fill Flash
I’m surprised at the number of advanced photographers who remain mystified by fill flash. This powerful technique is simply the blending of two light sources during one exposure. The primary light source is natural light and the secondary light source is your flash. During full flash the camera is arbitrarily set at the highest synch speed, but with fill flash, simply shoot in aperture priority and let the flash do the rest.
 Aperture priority is the best mode for using fill flash. You select the appropriate aperture for the situation and let the camera decide the correct shutter speed. Assuming the subject isn’t moving and the camera is supported on a tripod, most shutter speeds work. Your flash can fire at any shutter speed at or below the flash synch speed. To get started, pretend your flash is turned off and set exposure as you normally do in aperture priority. Next, set the fill flash to automatically reduce flash output by -1-1/2 or -2 stops. Don’t confuse this setup with power settings that manually vary the flash output. Manual setting will not work as intended. You want the flash output automatically controlled at your desired setting while in aperture priority mode. Check your owner’s manual for exact directions for your system.
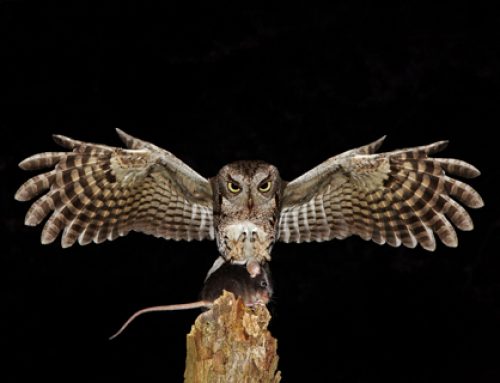
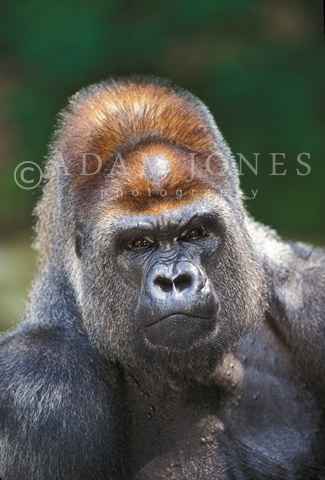
 Once the flash is set to a substantial minus setting simply shoot as if the flash is not in use. Fill flash has virtually no effect on the overall exposure. The magic of fill flash is that it only affects the shadow areas of the image. Even when set at minus two stops; fill dramatically opens up shadowed areas on cloudy days or during indoor situations. Shadows can be quite harsh on bright sunny days; consider boosting your fill settings to -1/2 or -1 stop. My standard setting for indoor/overcast lighting is -2 stops. Fill light adds a beautiful catch light in the eyes of your subject whether shooting inside or out. The idea is to blend the flash seamlessly so the subject looks completely natural and not flashed. Simply reduce the flash exposure to a point well below the natural light exposure and shoot away like normal. If you’re in doubt about which setting to use, it’s better to err on the side of too little flash. At least the subject won’t look flashed.
 Unlike full flash, fill does not freeze subject motion or eliminate camera shake. Remember, two exposures are taking place, one for the flash and one for the natural light. If nothing moves, both exposures overlap perfectly as one. Ghosting occurs if there is movement during the exposure. Fill light freezes movement the instant the flash discharges, but the subject keeps moving during the time the shutter is open for the ambient light exposure. The lag time between the flash firing and the shutter closing creates two overlapping images; one blurred and one sharp. Fill flash won’t freeze the action of your active kids, but it can greatly improve the quality of images inside and out. As in any normal shooting situation, make sure the shutter speed is adequate for the situation and the let the flash work it’s magic automatically.